
Let Dudes recover without Dude Juice after a few rounds
The official guide gives beginners a concrete recovery rule: Dudes can recover without Dude Juice after a few rounds. That delay creates a planning window. Damage does not always require an immediate consumable response, but the team still has to survive long enough for the recovery to occur. Read the whole five-Dude roster as one resource state instead of evaluating one damaged Dude in isolation.
At the end of a round, check which Dudes are under pressure and which choices affect the next few rounds. If the roster can function through the delay, preserve Dude Juice for a moment when waiting is not viable. If the team is already exposed to large hits, combine the recovery plan with early defensive investment rather than assuming time alone solves the problem. The rule is a timing tool, not a promise that every damaged run is safe.
- Track the five-Dude roster as one recovery state.
- Use the known recovery window before spending Dude Juice automatically.
- Pair waiting with defense when upcoming hits can end the run before recovery.
Use Business Dude’s three investment doubles as one sequence
Business Dude offers three investment opportunities and doubles the invested cash each time. Treat those three doubles as a connected run-planning sequence. The decision is not simply whether an investment has a positive return; the team must remain strong enough while cash is committed, and each opportunity changes what is available for the next preparation step.
Before investing, identify the immediate survival requirement. If the next rounds demand defense or mobility, reserve enough resources for that response. When the team can safely wait, the doubling sequence can improve later purchasing power. After each double, reassess rather than assuming the first decision commits the entire run. The official fact supports a clear timing checkpoint, but it does not justify an invented universal investment amount or round number.
Use “Use Business Dude’s three investment doubles as one sequence” as a run checkpoint rather than a universal ranking. Before applying “Use Business Dude’s three investment doubles as one sequence,” note the current five-Dude roster, the Families already represented, and the immediate pressure shown by the encounter. A short “Use Business Dude’s three investment doubles as one sequence” record makes the result easier to compare after battle while keeping unsupported exact values, hidden formulas, and one-size-fits-all builds out of the decision.
Build early defensive stats to reduce one-shot risk
The developer guidance names early defensive stats as the answer to one-shots. Toughness, Max HP, and Temporary Health address large hits. These are related defenses, but the guide does not say they are interchangeable in every situation or publish one mandatory target value. The safe conclusion is procedural: identify burst damage as the problem, then use the available defensive option that improves the team’s ability to survive it.
Defense also supports the earlier recovery and investment checkpoints. A team that survives another round gains time for recovery without Dude Juice. A team that avoids a one-shot can realize the value of a delayed investment. This is why the walkthrough orders defense before the first named boss milestone. The goal is to preserve decision time, not to claim that offense never matters or that one stat solves every encounter.
| Pressure | Named response | Planning purpose |
|---|---|---|
| Large bursts of damage | Toughness, Max HP, Temporary Health | Survive the hit |
| Moving bosses | Mobility | Keep contact with the target |
| Roster recovery | A few rounds without Dude Juice | Create time for recovery |
Prepare for the Tier 1 G.O.A.T. at round 105
The Tier 1 Gold Star target is the G.O.A.T. at round 105. The official guide describes G.O.A.T. as using movement and large bursts of damage, which links directly to the previous checkpoints. Mobility helps the team pursue a moving boss, while Toughness, Max HP, and Temporary Health are the named responses to large hits. The fight tests whether the run has converted earlier decisions into usable preparation.
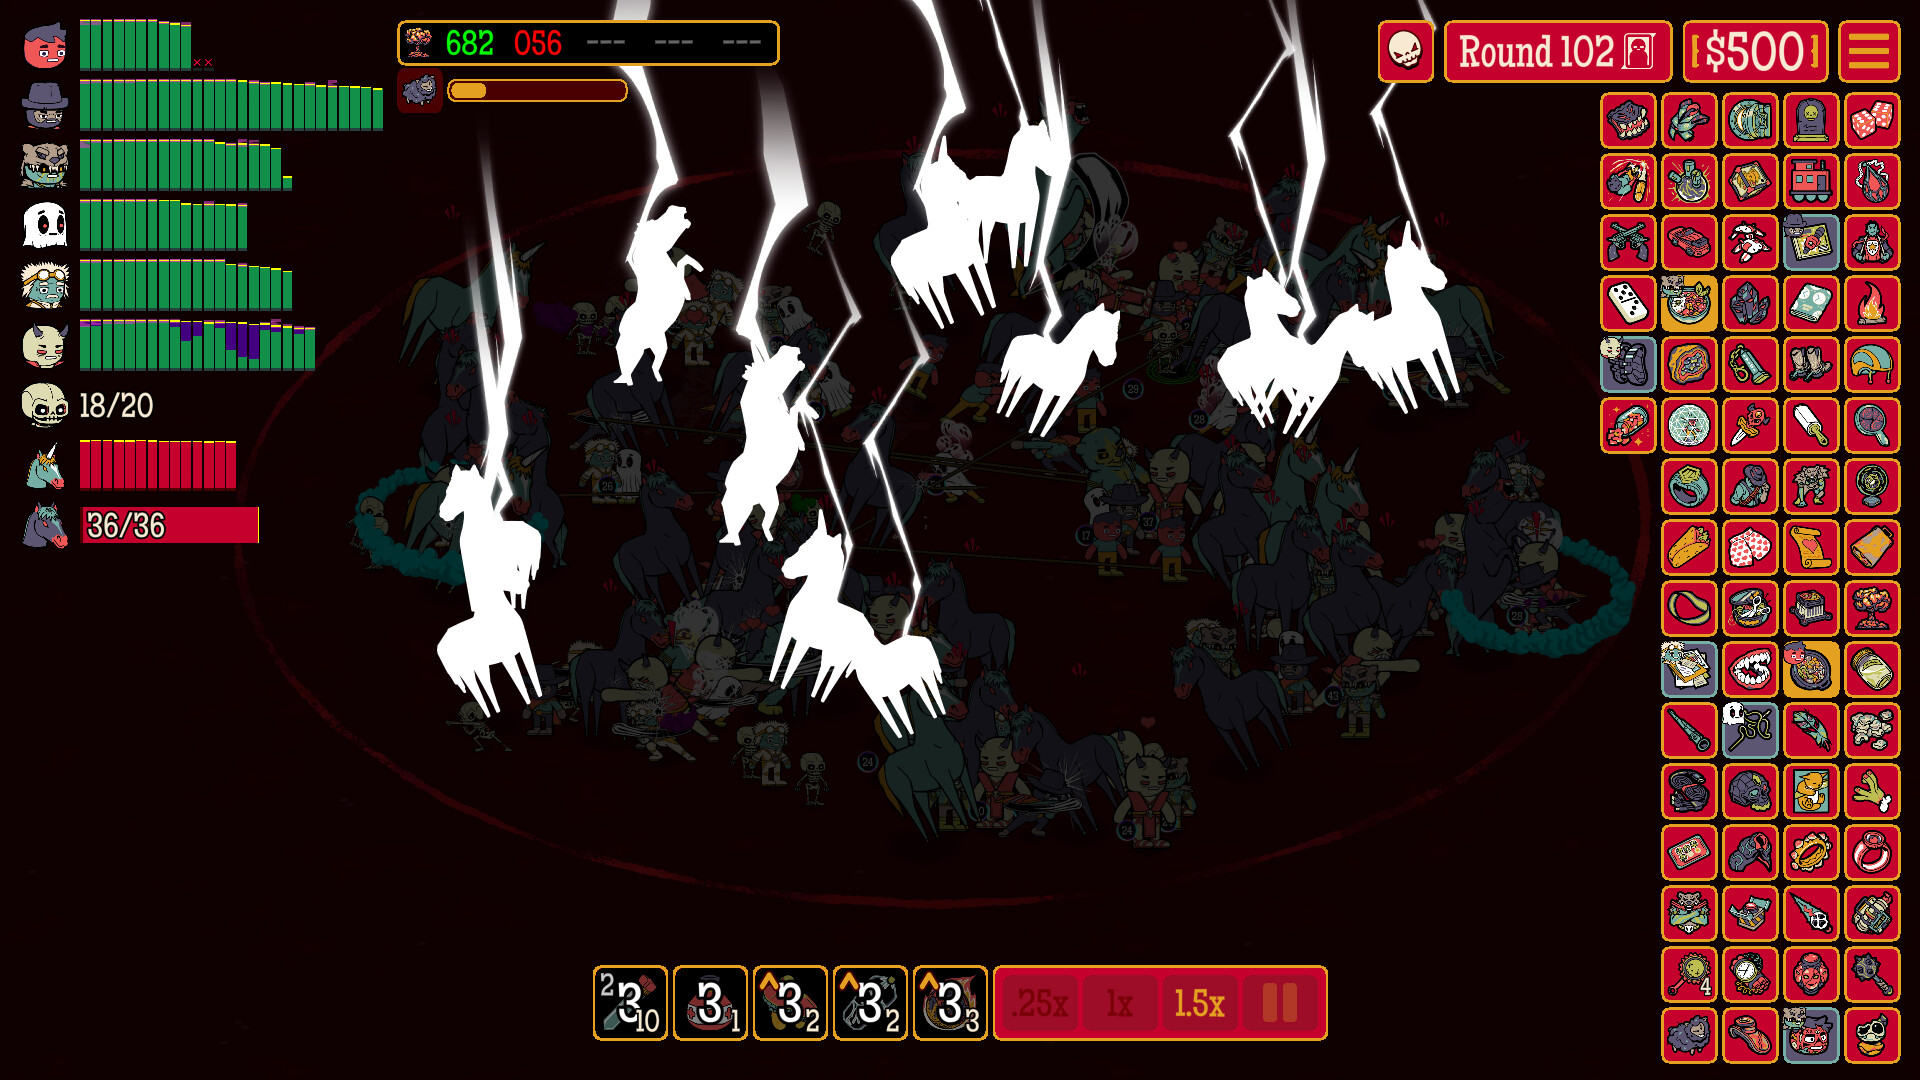
Approach the milestone by checking the team rather than copying an unsupported character list. Confirm that the five-Dude roster can stay on a moving target. Confirm that a large hit does not erase the team’s recovery window. Confirm that Business Dude investment timing has not left the run unable to buy the preparation it needs. The screenshot shows the dense late-round encounter, but it does not provide a basis for claiming exact boss health, damage values, or a guaranteed winning formation.
Use “Prepare for the Tier 1 G.O.A.T. at round 105” as a run checkpoint rather than a universal ranking. Before applying “Prepare for the Tier 1 G.O.A.T. at round 105,” note the current five-Dude roster, the Families already represented, and the immediate pressure shown by the encounter. A short “Prepare for the Tier 1 G.O.A.T. at round 105” record makes the result easier to compare after battle while keeping unsupported exact values, hidden formulas, and one-size-fits-all builds out of the decision.
Use Tiers and modes to decide the next run
Challenge progression contains three Tiers and uses Silver and Gold Stars. The round-105 G.O.A.T. is the first named Gold Star target supplied in the official guide, not the endpoint of every possible run. After reaching or failing that milestone, separate the lessons by system. If burst damage ended the run, revisit defense. If the team could not keep contact, revisit Mobility. If the Relic choices felt unfocused, revisit the roster’s Dude Type and Family contributions.
The Daily Dude, Ensemble Mode, and Rematch Mode change the context for subsequent runs. Pre-Posted Flyers affect the starting Relic pool, so the opening state can differ before the first battle. Use the Game Modes page for those rules and the Tiers page for progression. Keeping those questions separate prevents a mode-specific starting condition from being mistaken for a universal beginner rule.
Use “Use Tiers and modes to decide the next run” as a run checkpoint rather than a universal ranking. Before applying “Use Tiers and modes to decide the next run,” note the current five-Dude roster, the Families already represented, and the immediate pressure shown by the encounter. A short “Use Tiers and modes to decide the next run” record makes the result easier to compare after battle while keeping unsupported exact values, hidden formulas, and one-size-fits-all builds out of the decision.
Beginner walkthrough questions
Should Dude Juice always be saved?
FAQ: The confirmed rule is that Dudes can recover without Dude Juice after a few rounds. That creates an option to wait, not an absolute ban on spending. Use the roster’s current survival state and upcoming pressure to decide whether the team can safely reach the recovery window.
What does Business Dude contribute to the beginner plan?
FAQ: Business Dude provides three investment opportunities and doubles the invested cash each time. The walkthrough treats them as a timing sequence: protect immediate survival needs, take a double when the run can wait, and reassess after each opportunity instead of assuming one fixed investment script.
What is the first named boss target in this guide?
FAQ: The supplied official guide identifies the Tier 1 G.O.A.T. Gold Star encounter at round 105. It describes movement and large bursts of damage, so the preparation categories are Mobility for pursuit and Toughness, Max HP, or Temporary Health for large hits. Use the “what is the first named boss target in this guide” boundary when reviewing the next run, and keep any stronger conclusion separate until an official rule or clean first-party record supports it.